English typing for beginners
If you are typing with one or two fingers and looking down at the keys, this guide is for you. Follow these steps in order and you will be touch typing in a few weeks.
Step 1: Sit and place your hands correctly
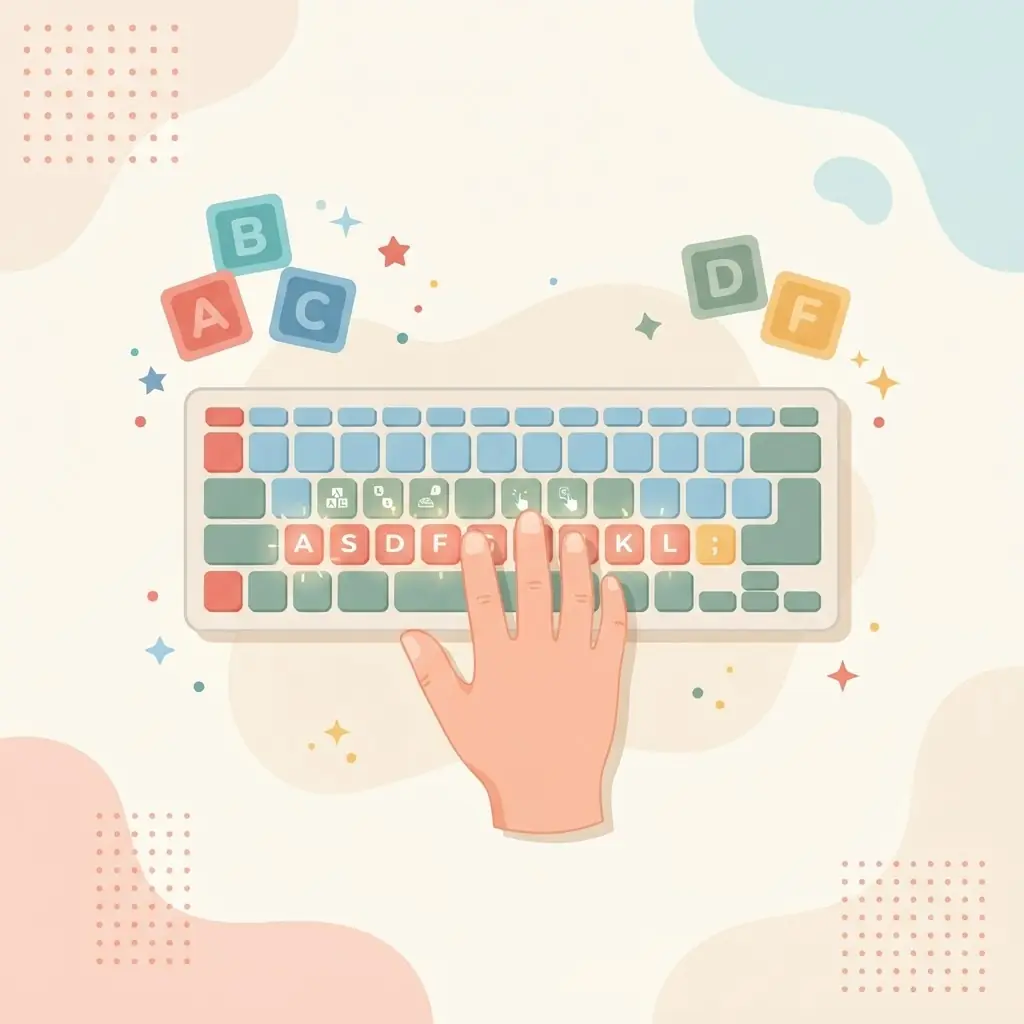
Sit up with both feet on the floor and wrists floating just above the keyboard, not resting on the desk. Place your fingers on the home row: left fingers on A, S, D, F and right fingers on J, K, L and the semicolon. Feel for the small bumps on the F and J keys — they let you find home position without looking.
Step 2: Learn the home row first
Do not try to learn the whole keyboard at once. Start with just the home row so each finger learns its home key. Open the English typing lessons and complete the home-row lesson before moving on. The guided keyboard shows the next key and the finger colour tells you which finger to use.
Step 3: Add the top and bottom rows
Once the home row feels natural, reach up to the top row (Q–P) and down to the bottom row (Z–M), always returning your fingers to home afterwards. This “reach and return” habit is the core of touch typing.
Step 4: Type real words and sentences
Random letters build finger position, but real English is what you actually type. Move on to common words, capital letters and short sentences — the practice exercises increase in difficulty so you are always slightly challenged but rarely stuck.
Step 5: Build speed and measure it
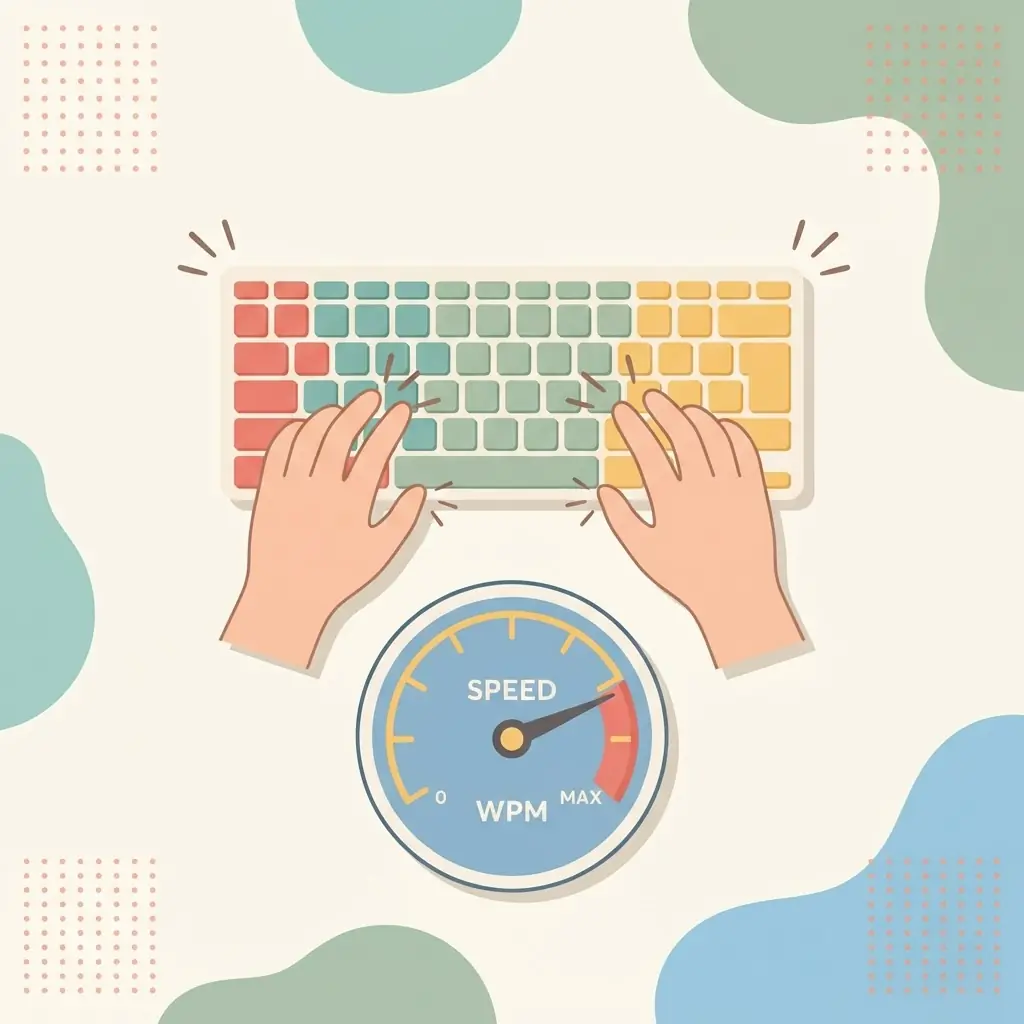
When you can type sentences without hunting, start pushing your pace and take a short typing test to see your words per minute and accuracy. Beating your own last score is a great motivator.
Golden rules for beginners
- Accuracy before speed. Clean typing becomes fast typing on its own.
- Do not look down. Trust your fingers; glance only when truly lost.
- Practise a little every day. Fifteen minutes daily beats a weekly marathon.
- Make it fun. Use typing games when a plain drill gets boring.
Which finger presses which key
Each finger looks after a column of keys that runs diagonally up and down from its home key:
- Left little finger: A, plus Q, Z, Tab, Caps Lock and the left Shift.
- Left ring finger: S, plus W and X.
- Left middle finger: D, plus E and C.
- Left index finger: F and G, plus R, T, V and B.
- Right index finger: J and H, plus Y, U, N and M.
- Right middle finger: K, plus I and the comma.
- Right ring finger: L, plus O and the full stop.
- Right little finger: the semicolon, plus P, the slash, Enter and the right Shift.
- Thumbs: the space bar.
For capital letters, hold Shift with the little finger of the opposite hand to the letter you are typing. This keeps both hands balanced and avoids awkward stretches.
A sample first week
- Days 1–2: home row only, slowly, until you can type it without looking.
- Days 3–4: add the top row and practise reaching up and back to home.
- Days 5–6: add the bottom row, then mix all three rows in short words.
- Day 7: take your first 1-minute test and note your WPM and accuracy as a starting point.
Your speed may feel slower than your old two-finger method at first. That is normal — it usually overtakes your old speed within a few weeks of daily practice.
Common beginner mistakes to avoid
- Resting your wrists on the desk, which pulls your fingers out of position.
- Using only the index fingers for keys that belong to the ring or little fingers.
- Moving on to the next row before the current one feels comfortable.
- Taking a test every few minutes instead of actually practising between tests.